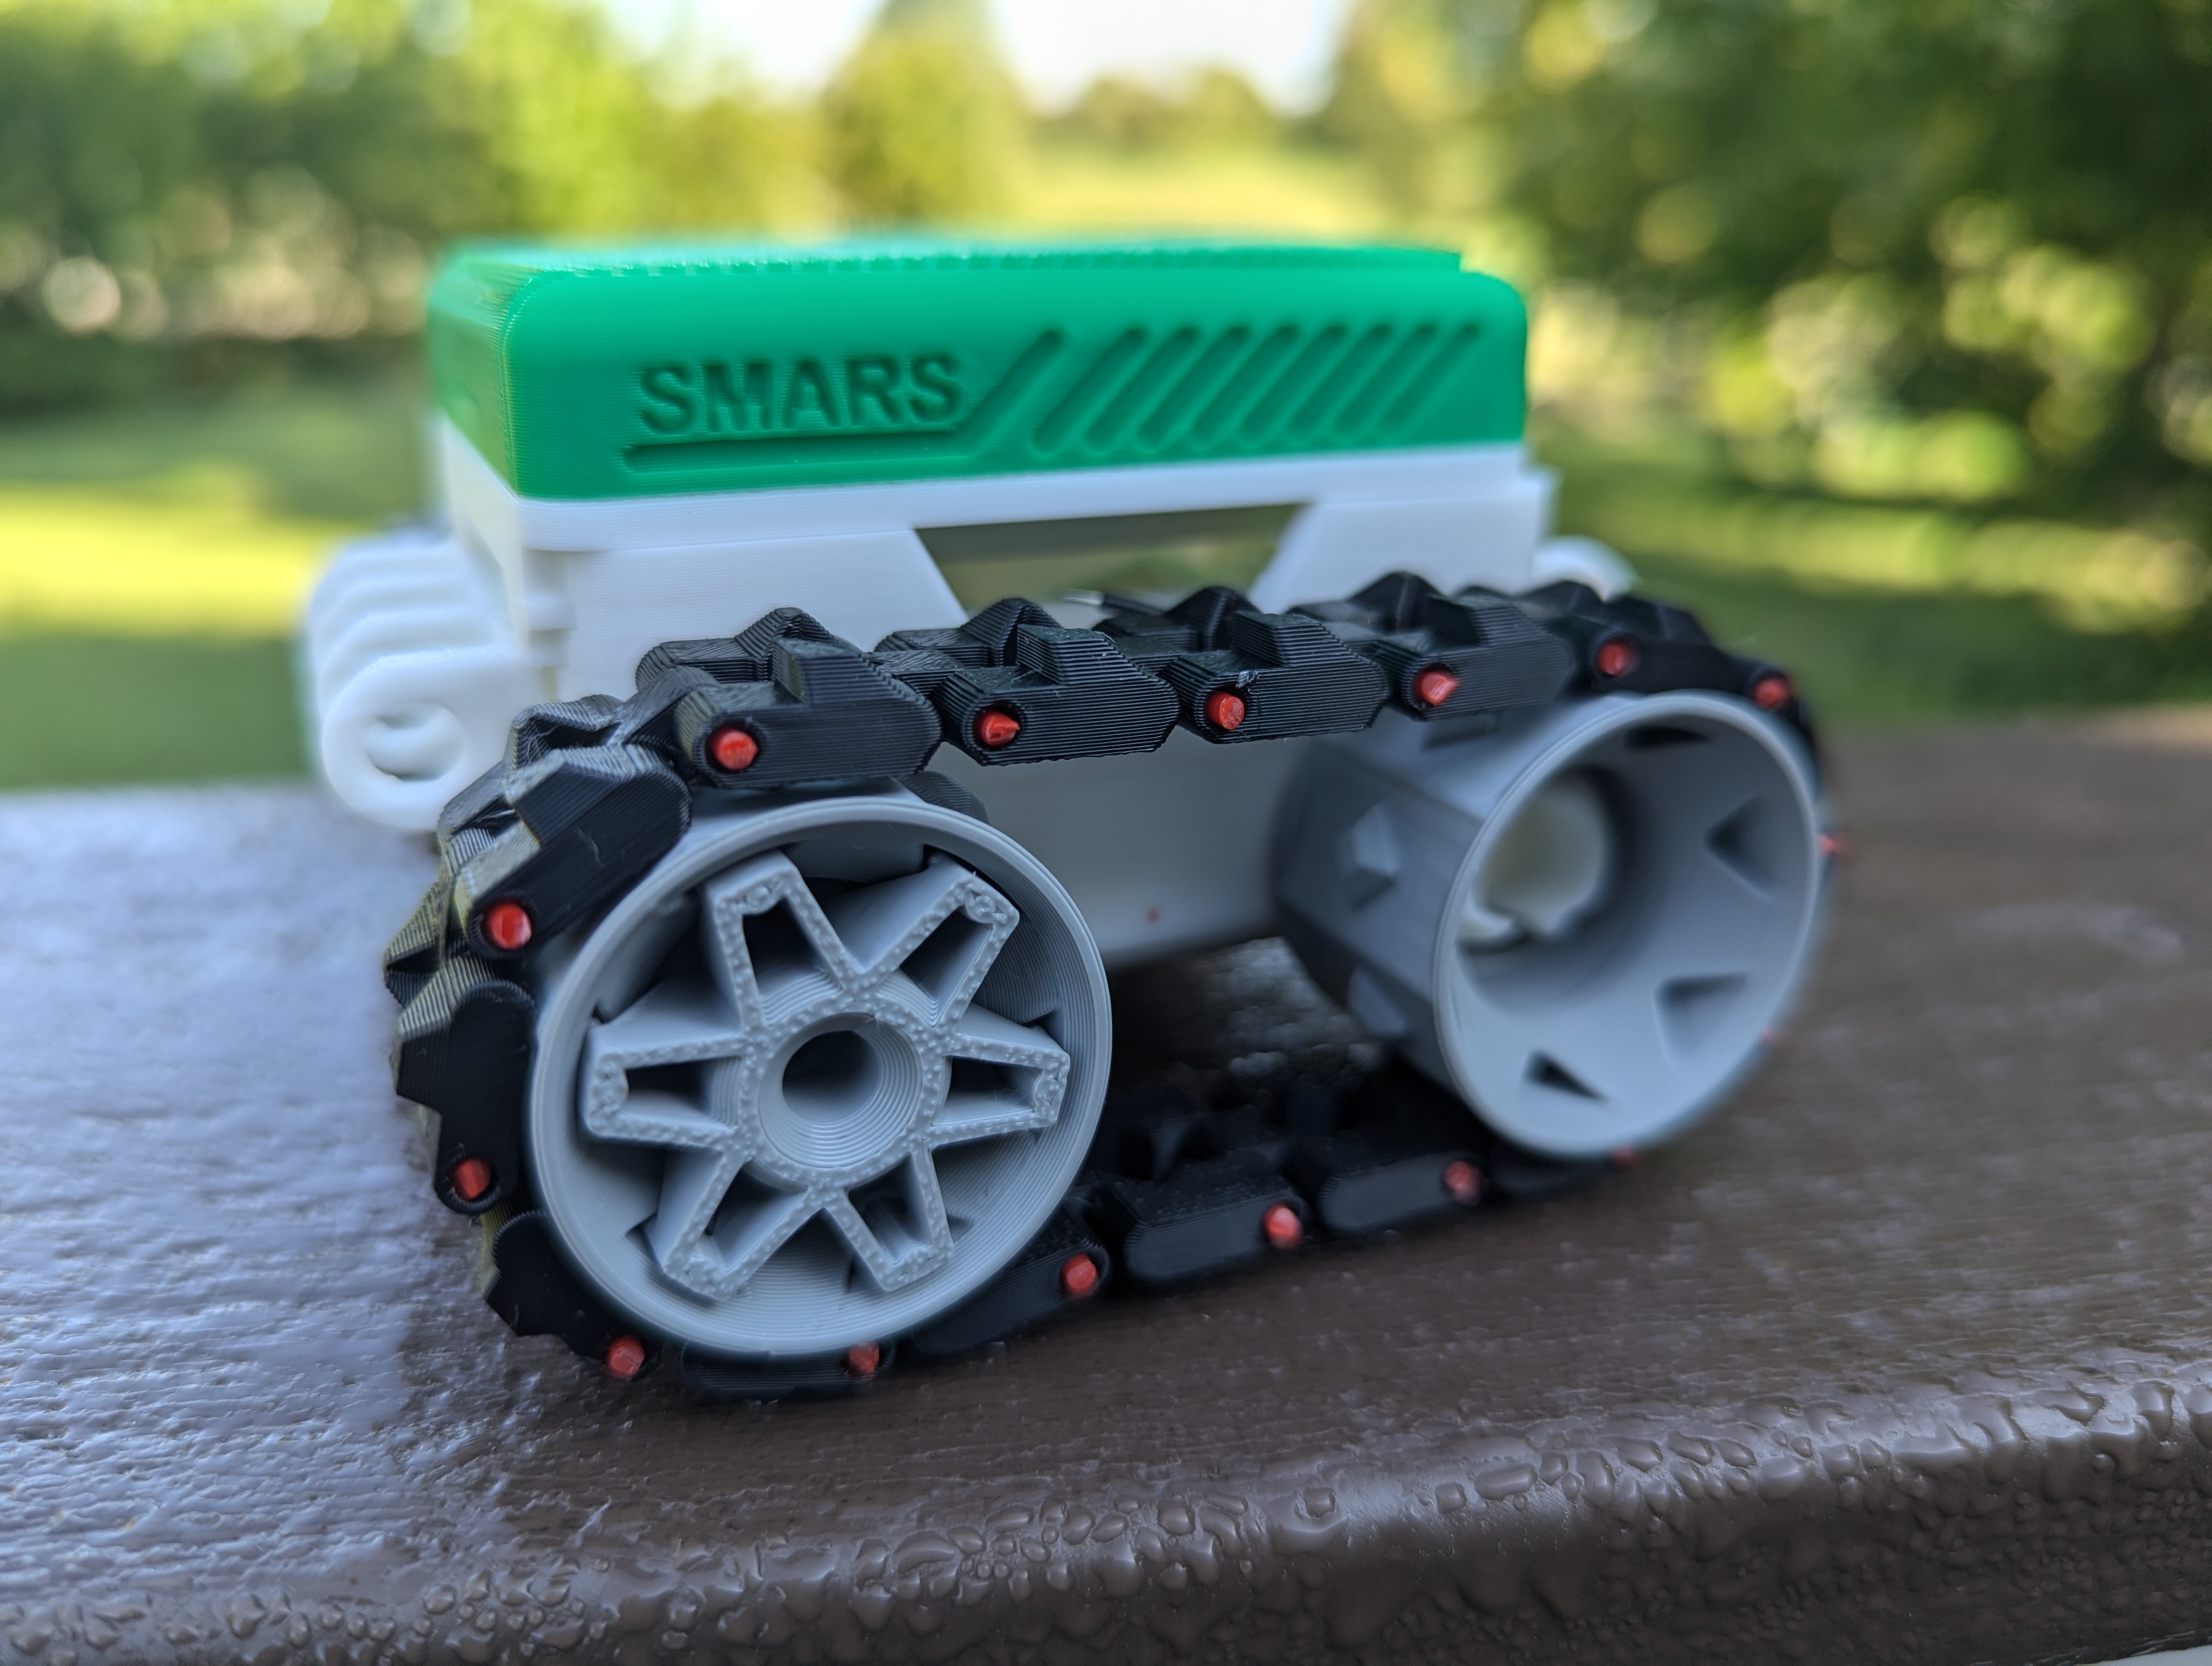
 I came about the SMARS (Screwless Modular Assembleable Robotic System) by way of
Kevin McAleer, but the creator is Kevin Thomas.
Thomas shares his original
designs as Noncommercial Creative
Commons and sells newer iterations like the
V4, V4
Lite and
M1 to support further
iterations. I bought the V4 initially and bought the V4 Lite before I could even
finish my first build because it was so fun to work with. If you’re in a hurry,
you can get all the parts you need in a couple of days from Amazon for about $43
dollars. If you’re more patient, you can beat that price by a bit shopping on
AliExpress.
I came about the SMARS (Screwless Modular Assembleable Robotic System) by way of
Kevin McAleer, but the creator is Kevin Thomas.
Thomas shares his original
designs as Noncommercial Creative
Commons and sells newer iterations like the
V4, V4
Lite and
M1 to support further
iterations. I bought the V4 initially and bought the V4 Lite before I could even
finish my first build because it was so fun to work with. If you’re in a hurry,
you can get all the parts you need in a couple of days from Amazon for about $43
dollars. If you’re more patient, you can beat that price by a bit shopping on
AliExpress.
V4
The modular nature leaves you open to configure the robots in any way you can imagine, but there are 2 main trajectories the official documentation nudge you towards. The first option being based around the Arduino Uno and the second around an Arduino Nano seated in a breakout board. Since many of the parts come in 3-5 packs, I ended up exploring both options right off the bat.
Uno
The design based around the Arduino Uno felt simpler to build and is more open to further experimenting. If you don’t already have parts or an opinion to the contrary, I’d recommend starting with this design. There was only 2 tricky parts to this build.
The first issue I encountered was the middle battery pack design is a little fussy and the instructions are minimal to the point of not helping with this. You want to solder your wires wires towards the top of the brass fittings so the bulk pushes the batteries down. This matters more than I assumed. My first attempt at this, I soldered at the bottom and the batteries didn’t want to stay in place.
Other than that issue, it more or less just came together. The second tricky bit was also around the power supply. In order to wire power to the microcontroller and the motor driver, you’ll need to splice a few wires together. Doing so such that all the wires can fit in the space allowed took me a few tries. The circuit diagram gives you all the information that you need, but be mindful that you don’t want too much extra wire to deal with.
Nano
This design looks more polished due to it’s enclosed nature, but that comes at a cost. It’s much more fussy in how things have to come together and be able to get it all closed up. The recommended terminal option was out of stock so I got a slightly different one that was available on Amazon. It didn’t fit in the case.
With the break out board I purchased, there were 2 problems. First, it was a touch wider and didn’t fit in the printed holder. Second, and this was the doosie, it came with the headers pre installed. That sounded like a good thing when I ordered it, troubleshooting the fit, it wasn’t. Turns out the chassis design assumes you don’t use headers and this extra height was why i couldn’t close the case. Desoldering these are not my idea of a good time, so I ordered a replacement set that’s not pre-soldered.
When I saw the breakout board, I thought this was going to allow me to swap out various nano profile microcontrollers in the same robot easily. Needing to solder it to the be breakout board limits this quite a bit. Uno profile boards are about the same cost as the nano size and once you mount the nano to a breakout it’s not much smaller than the Uno. Dedicating a nano like this is kind of a bummer, but I still plan to finish one robot of this design because it looks pretty cool.
V4 Lite
I’m making a third robot at the same time with this similar but different chassis design. I like 2 design characteristics of the lite that I wanted to work with. First, I like how the treads are replaced with silicone bracelets. That seems like a fun and cheap way to get better traction. Secondly, I liked the look of the raspberry pi adapter.
Lite seems like a funny name to separate this design from V4. The printed parts for a V4 weigh about 109g. That means the complete printed parts for a V4 cost you about $1.64 at the price I’ve been buying it for recently. The Lite version requires $20 worth of bearings and $1 worth of bracelets, so saving money by way of saving filament should not be the reason to pick the lite option.
Motor Hat
I have a Raspberry Pi hat called the Adafruit Crickit that does tons of stuff including drive motors. The hat need 8mm of spacers between it and the Pi. I had a 6mm standoff and used a 2mm washer, but 8mm standoff would be simpler.
Todo
It looks like the Adafruit Crickit hat has power demands such that I can’t turn the pi on with the hat on. I have a power cord coming to account for that.
Parts Overview
Microcontrollers
- Uno R4 Wifi (esp32) $28 https://amzn.to/3STv4Tq
- Nano are about $5 https://amzn.to/4dIBEol
- Add bluetooth to an Arduino for $8 https://amzn.to/3X88k4z
- Nano shaped ESP32 with wifi (ESP32-S3-Nano) is $13 https://amzn.to/3AGk05C
- Arduino Nano RP2040 Connect with Headers $30 https://amzn.to/3yyYShn
Motors
- Motors about $7 for the pair https://amzn.to/3Tifktx
- Motor driver $1.5 https://amzn.to/4dQEYNt
Sensors
- HC-SR04 Ultrasonic Module Distance Sensor $2 https://amzn.to/3Xakw4X
- IR Sensor $3 https://amzn.to/3yzKTb3
Accessories
- Nano Terminals $2 https://amzn.to/3WYw2PE
- LEDs $11 https://amzn.to/3X8oFpO
- Power Switch $0.50 https://amzn.to/3YQWFIH
- Prong Fasteners
- Servos $2 https://amzn.to/3XcL2e4
- Servos metal gears $3.50 https://amzn.to/4fJD2IF
V4 Lite Parts
- Bracelets $1 https://amzn.to/4dROCQh
- Bearings $26 https://amzn.to/3X990Xl and https://amzn.to/3X88XuX
- Battery $12 https://amzn.to/3X88XuX and connector https://amzn.to/3XcL2e4
V4 Price
Amazon
| Part | Price |
|---|---|
| Arduino R4 | $28.00 |
| motors and shield | $8.50 |
| distance sensor | $2.00 |
| servos | $4.00 |
| power switch | $0.50 |
| Total | $43.00 |
AliExpress
| Part | Price |
|---|---|
| Generic Uno R3 with Wifi | $2.44 |
| Motors 6V 150RPM (x2) | $2.08 |
| Motor Driver | $0.33 |
| Power Switch | $0.04 |
| Servos (x2) | $2.42 |
| Distance Sensor | $1.09 |
| Total | $8.40 |
Published by Ryan Parsley