I stumbled upon a schematic in this forum post by way of this blog post. While a PNG is not the most convenient way to express a circuit, but I’m glad to have found it.
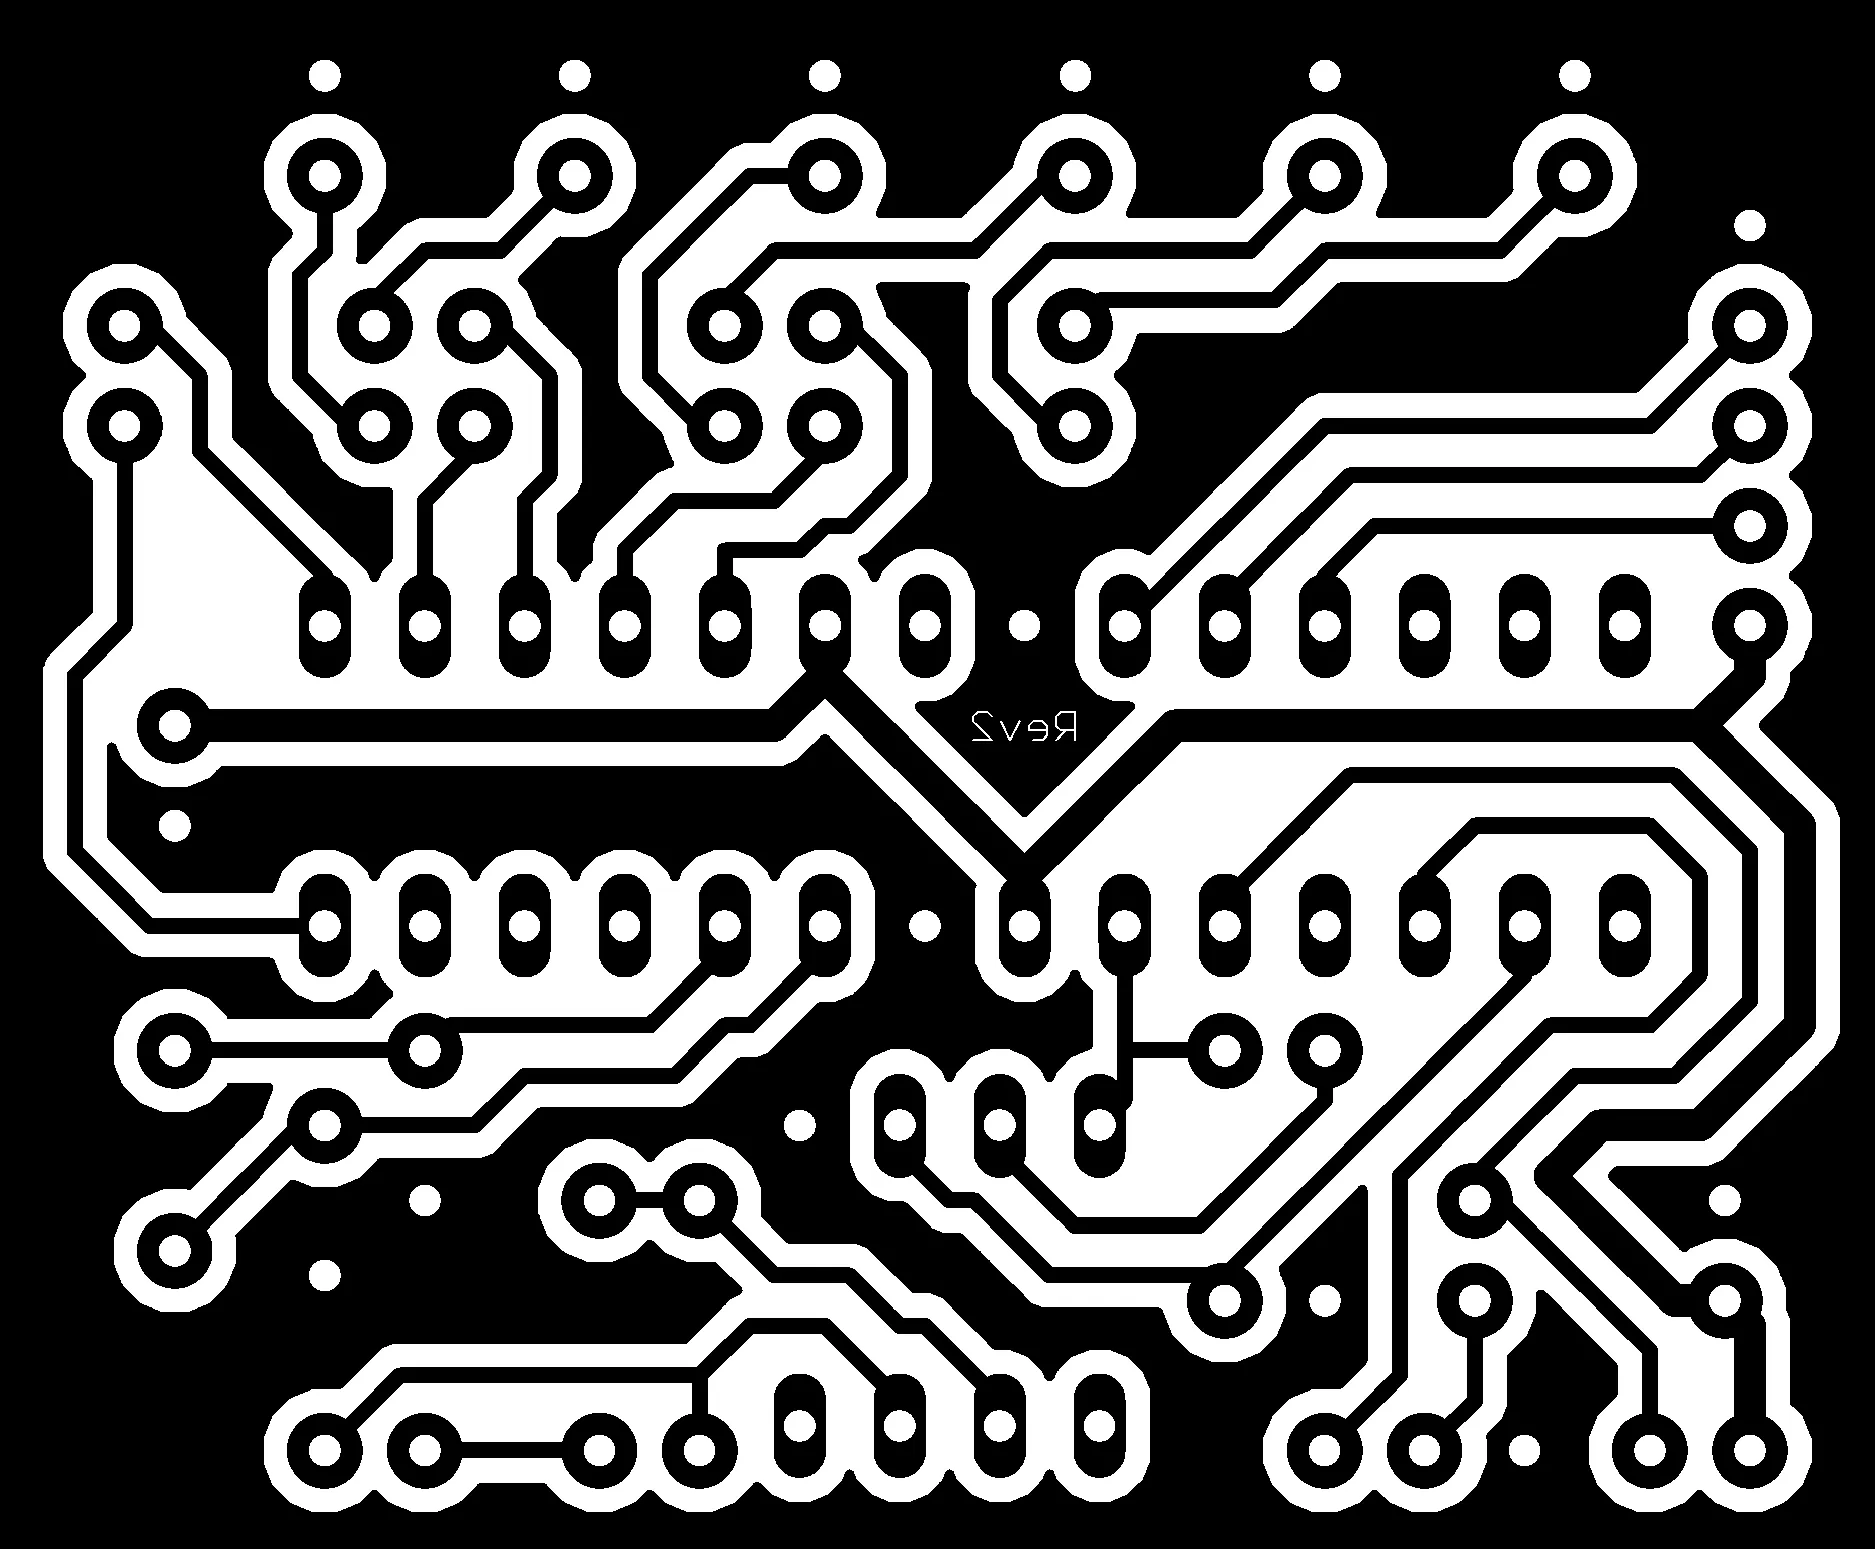
PNG -> SVG -> CAD
I opened the PNG in inkscape and traced it as a vector. From there, I exported an SVG to import into Fusion 360.
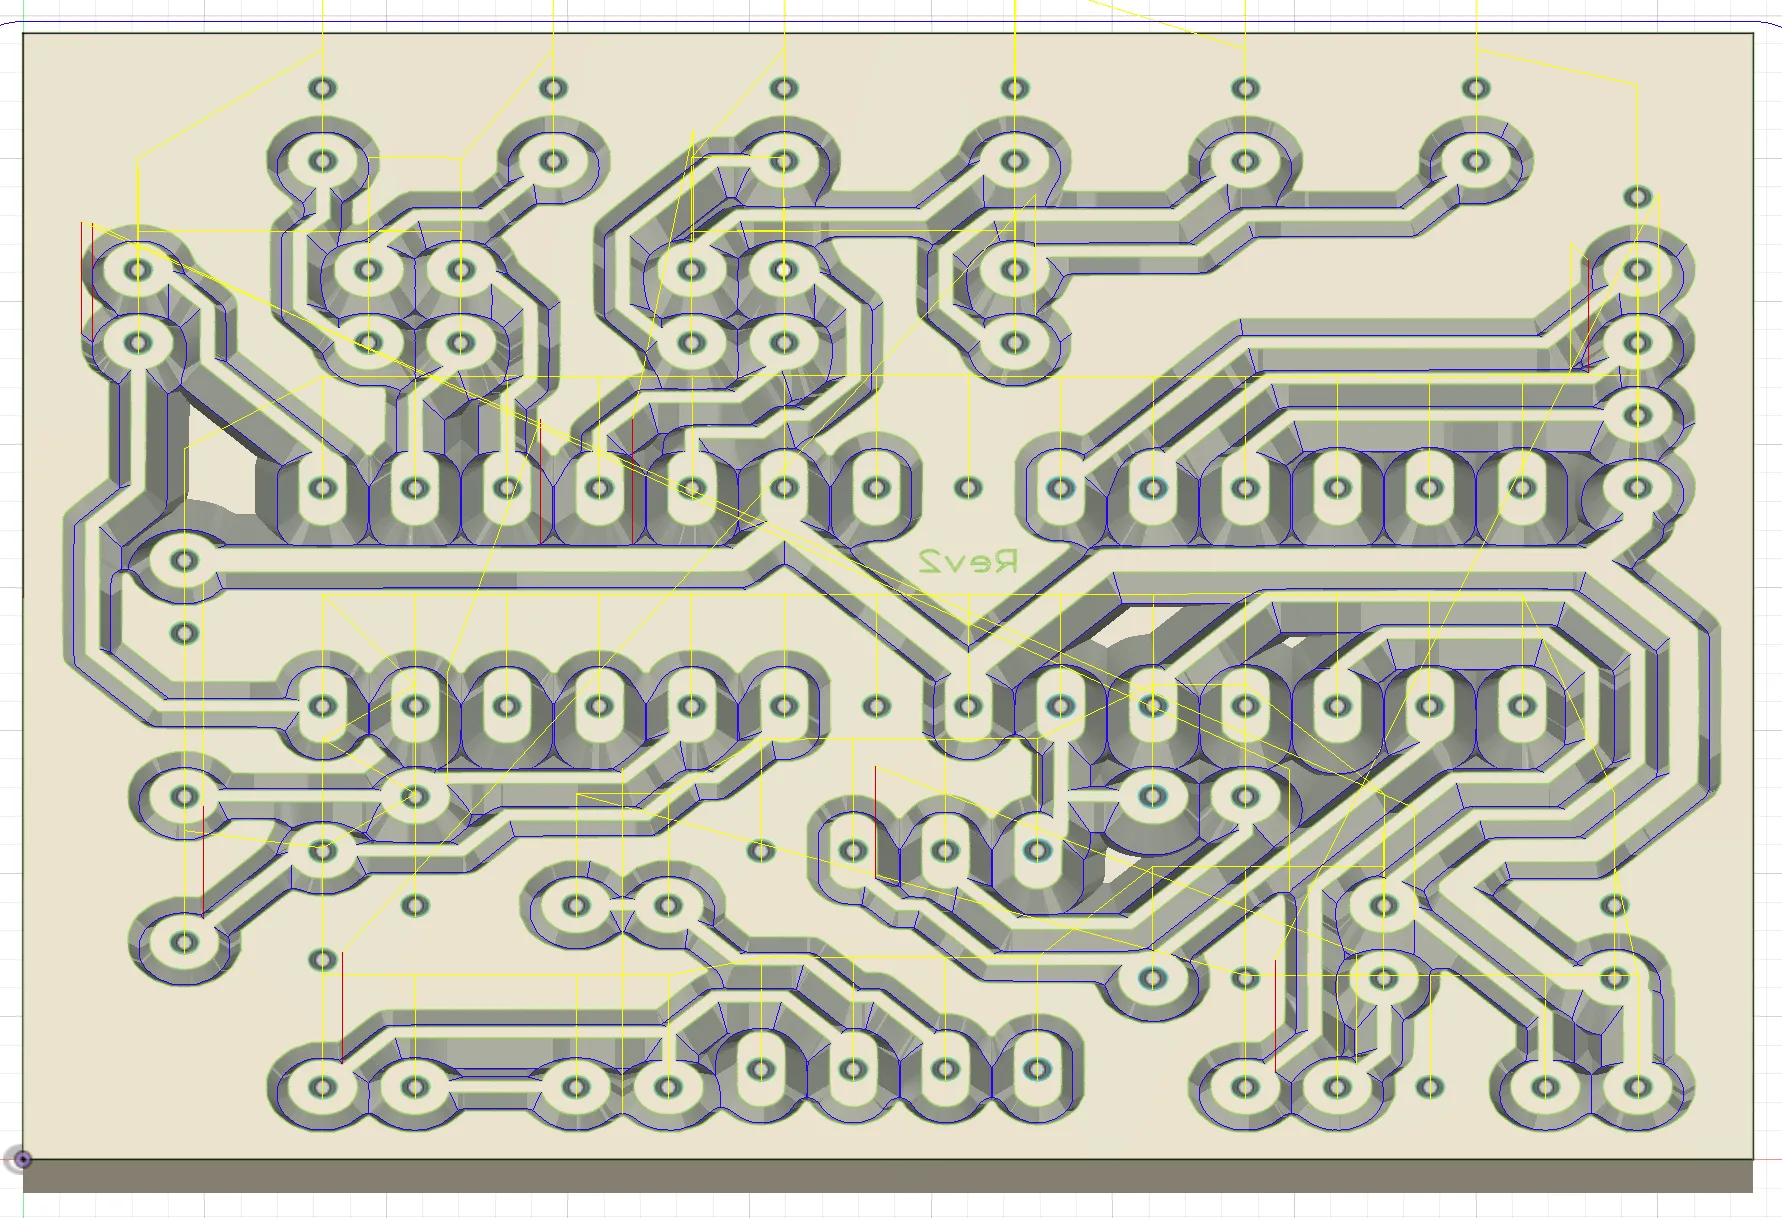
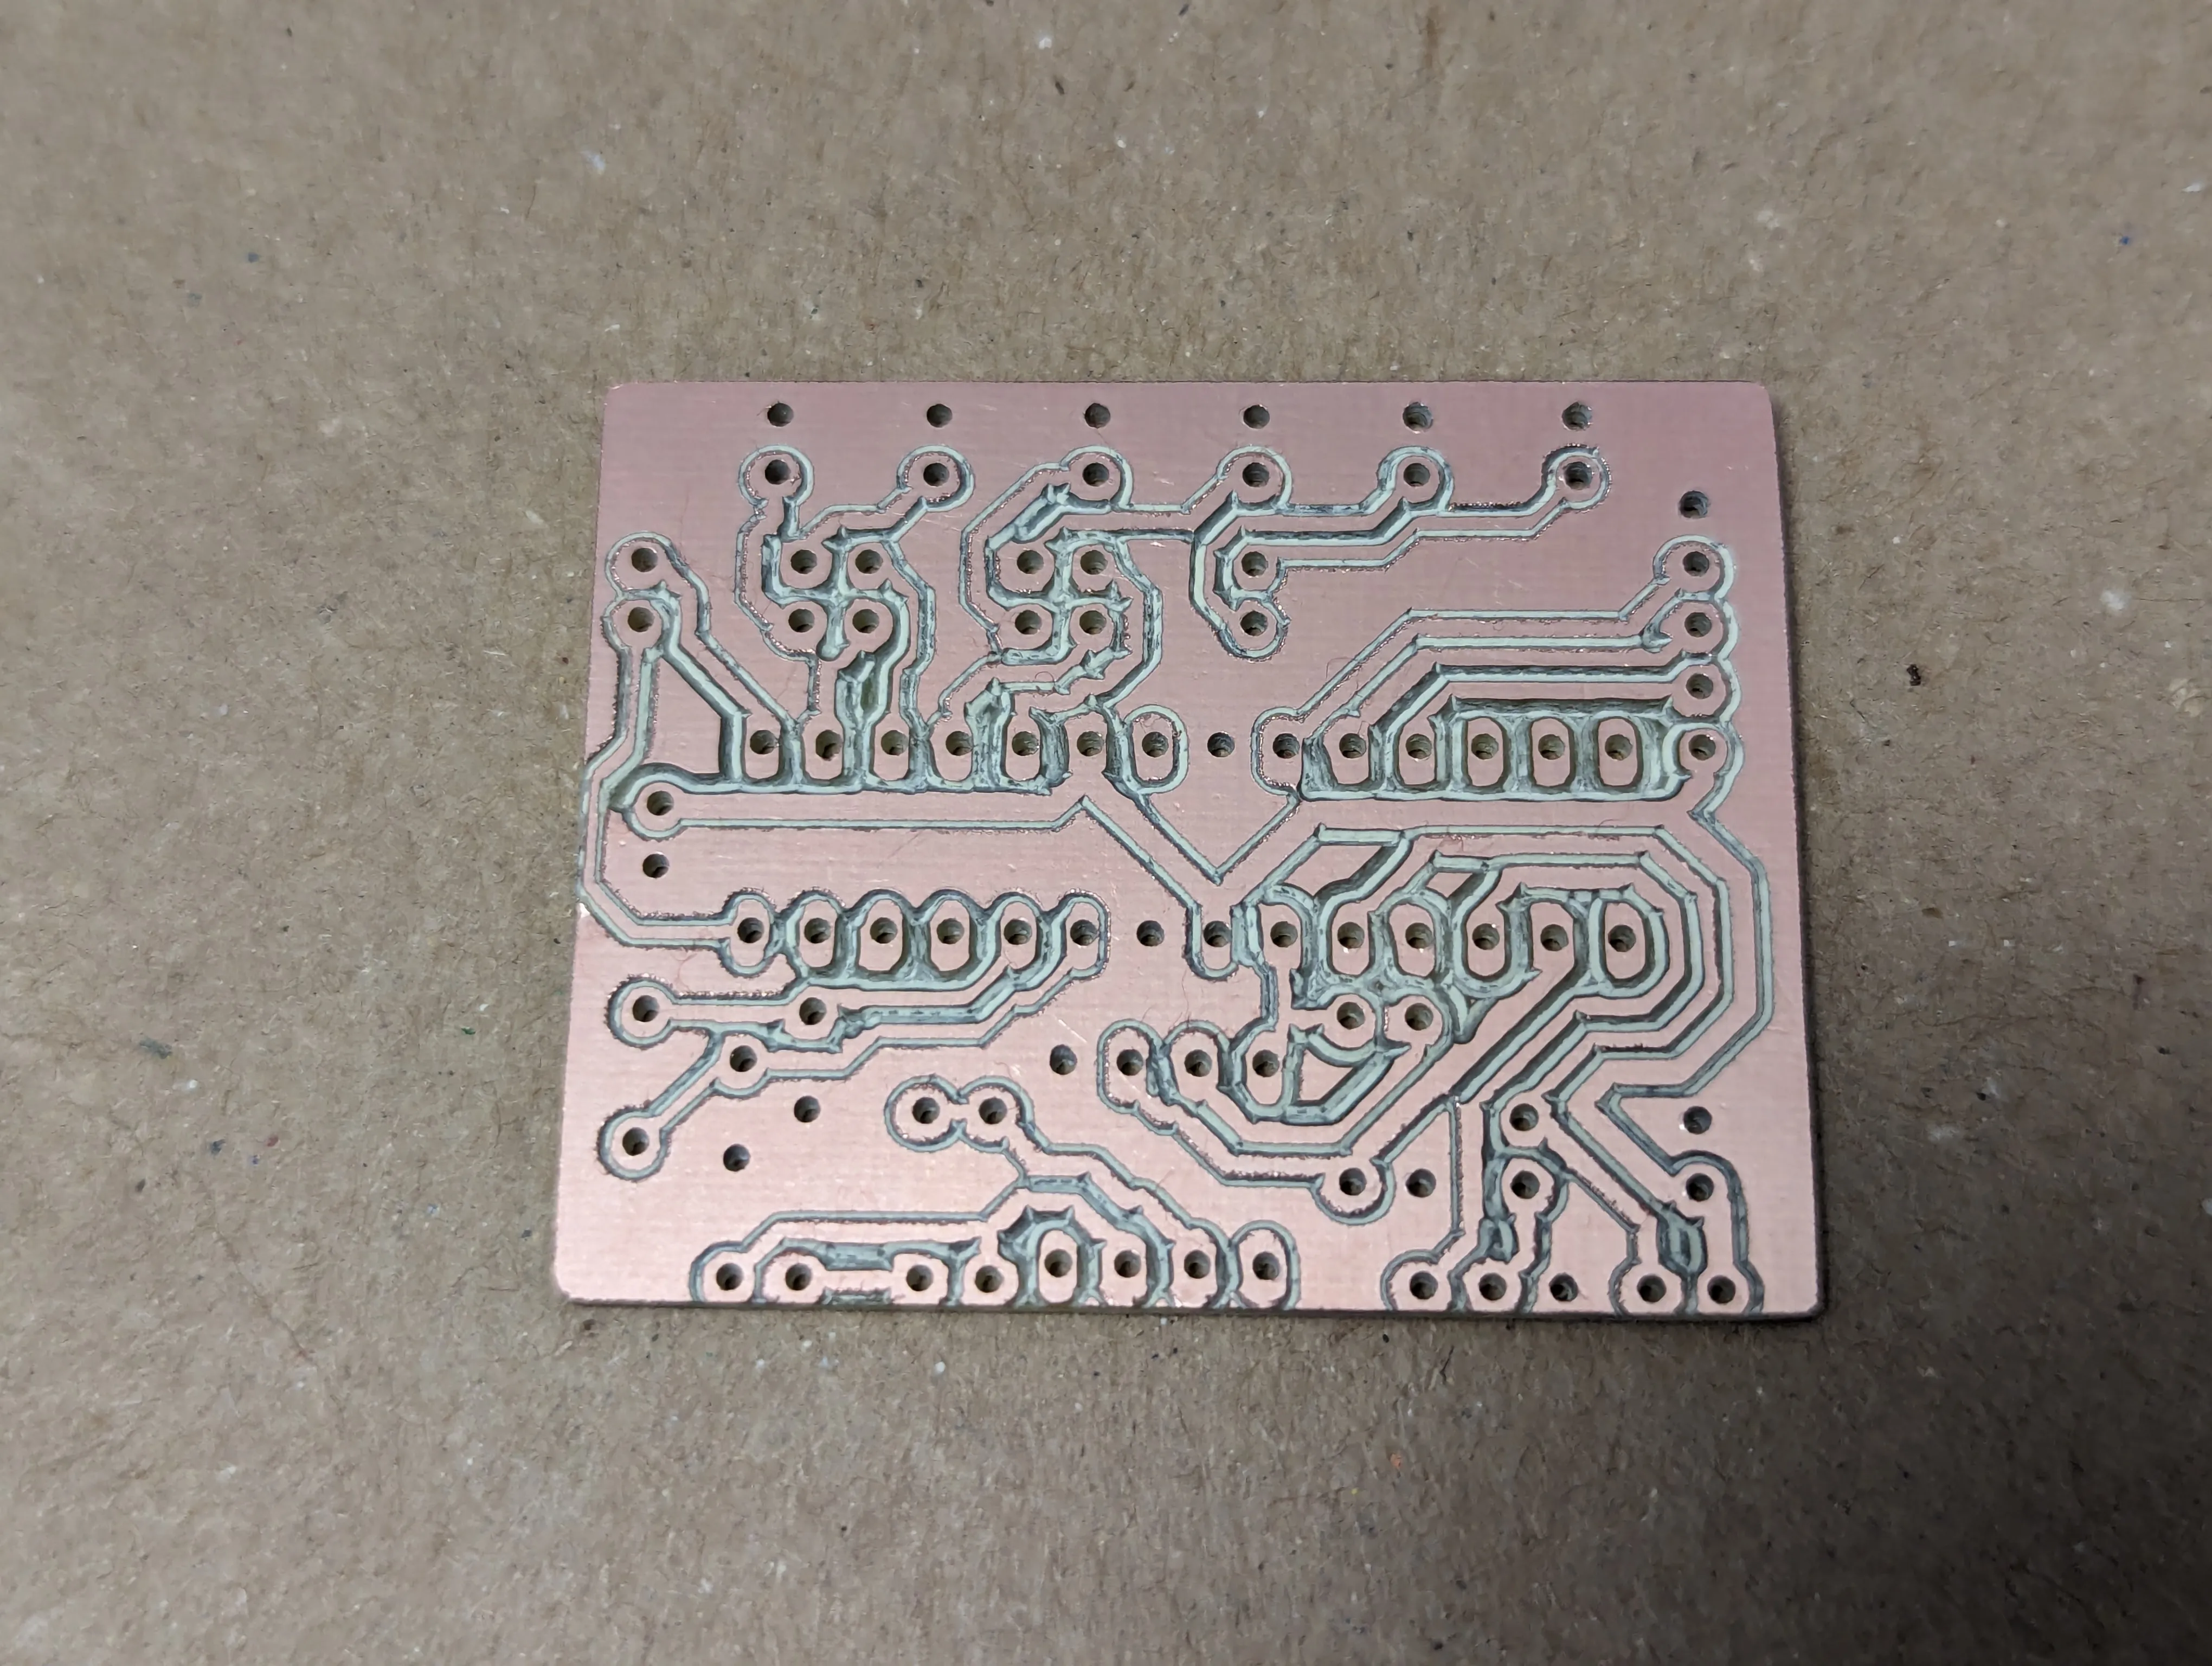
Milled this
Once I had that sorted out, I sent it over to my MPCNC for
milling.
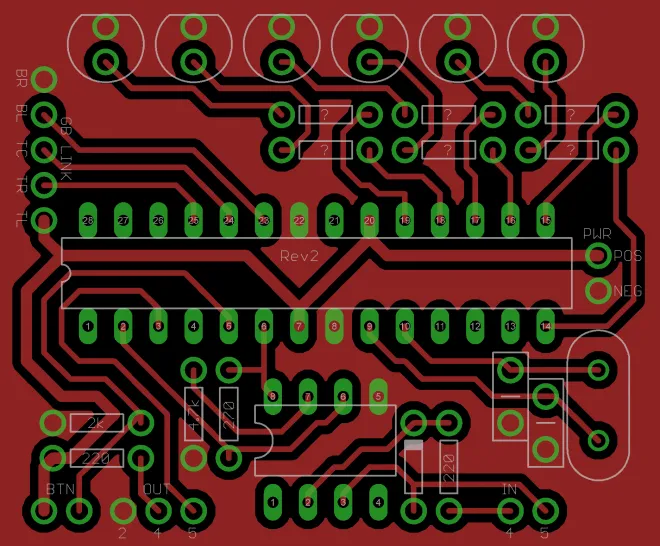
Time to solder
Following this image, I soldered it up.
To avoid damaging the link cable, I ordered up a breakout PCB.
It’s Alive
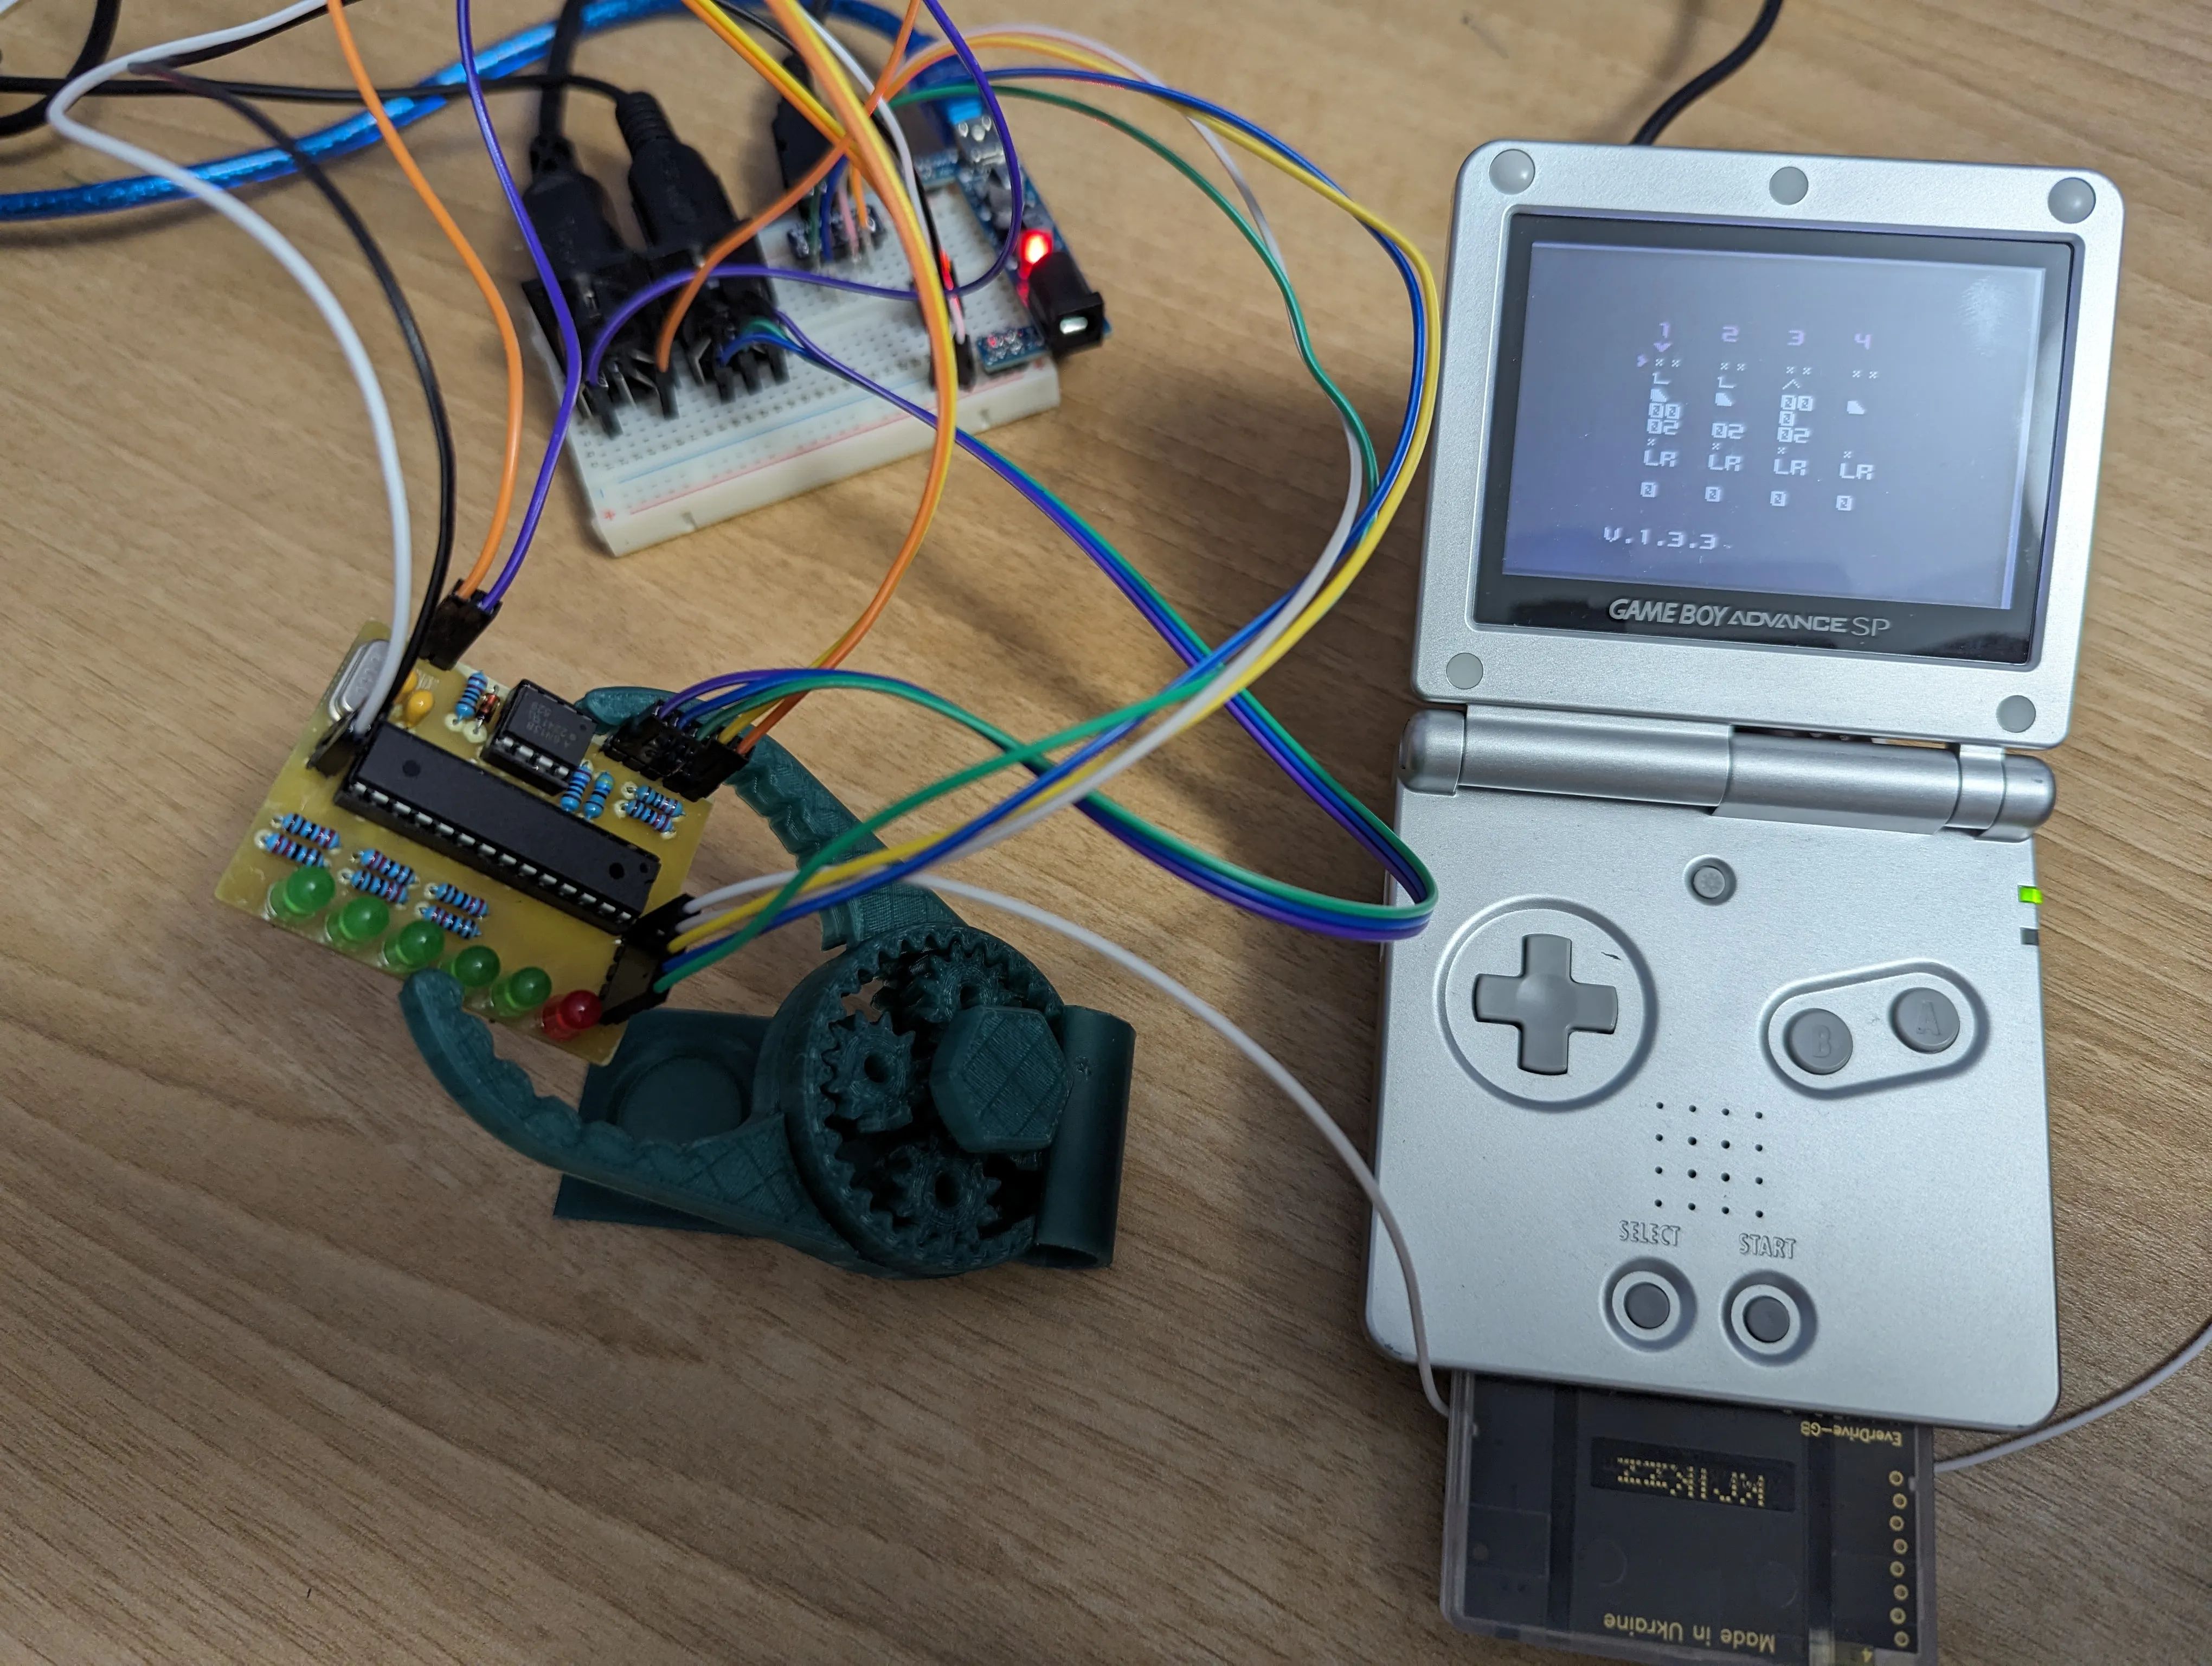
Here is a shot of my custom PCB wired up to my Game Boy Advance SP.
In a slick Enclosure
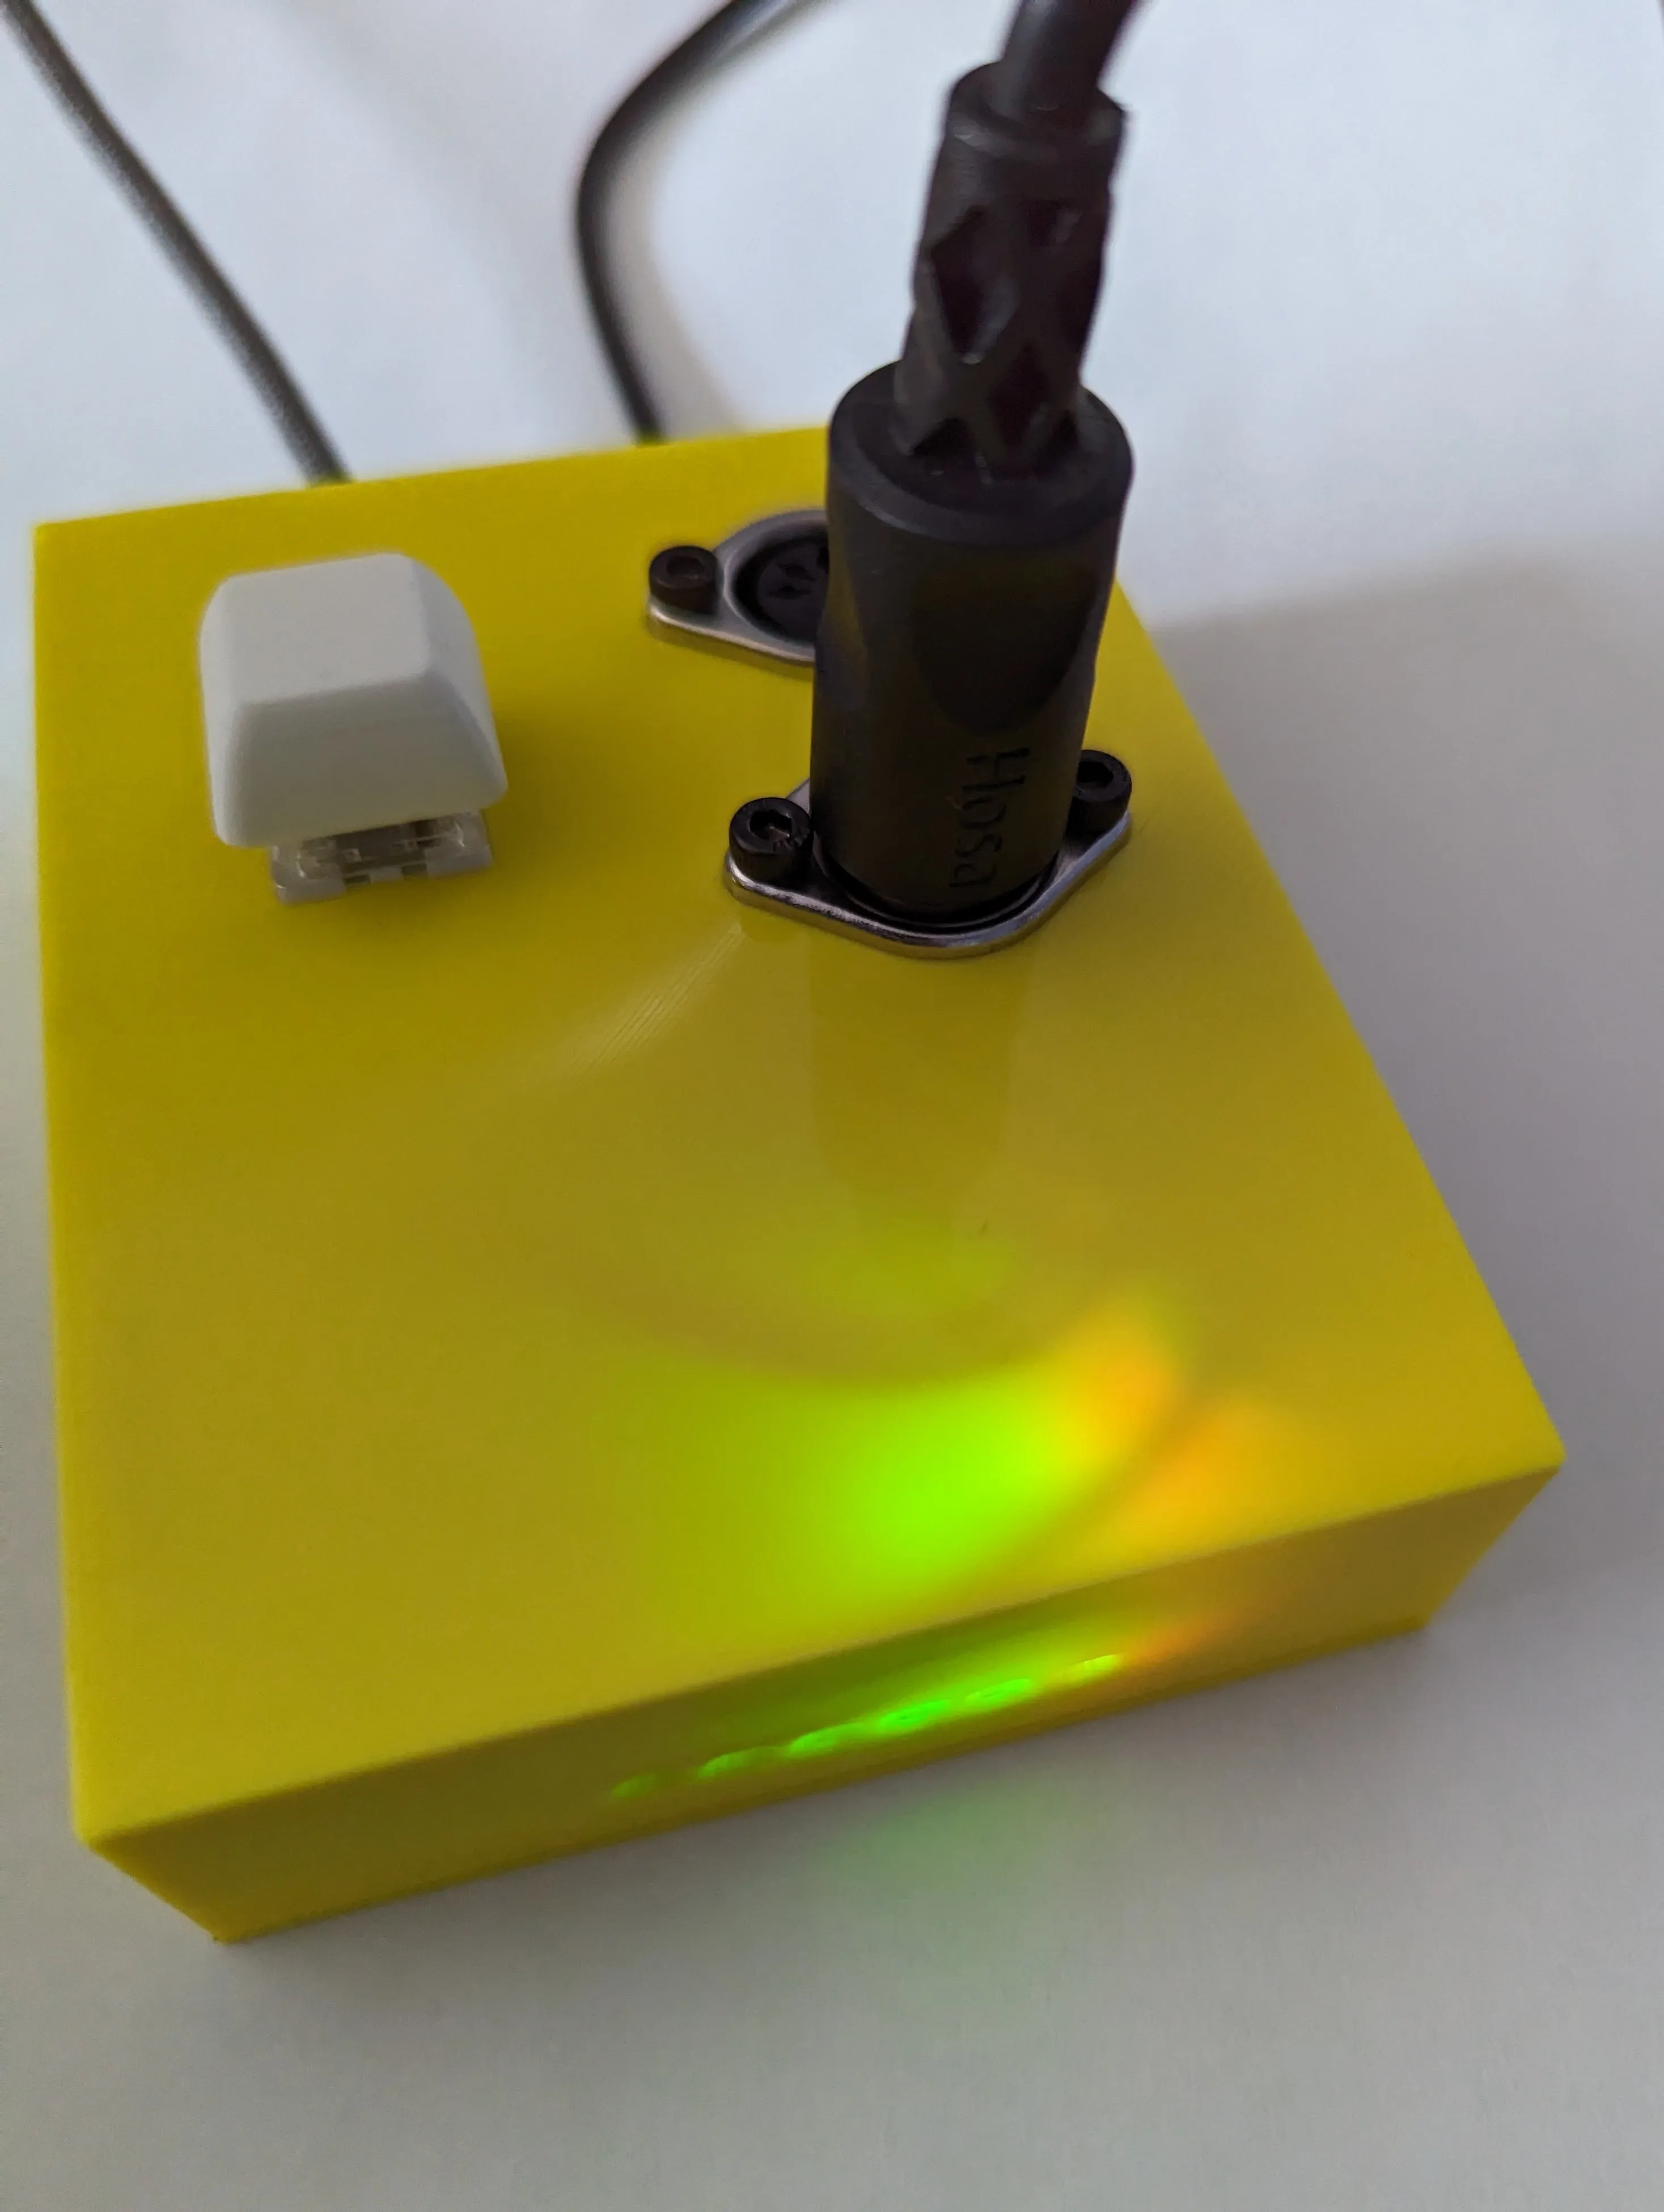
And here it is all finished up in a custom enclosure I designed.
Parts
- Everdrive GB x5
- Everdrive GBA x5
- Anbernic RG351V
- Link Cable
- GBA Link Cable
- GBA Headphone Dongle
- Copper blank for PCB
Note about your Everdrive choice, LSDJ is a Game Boy game, not GBA. If you go with the GBA, there is an emulator and you can use LSDJ through emulation. However, there’s a big but there. Saving songs doesn’t work in LSDJ through emulation. I own both and use them in different contexts. For the smoothest LSDJ experience, buy the Game Boy version. If you’re looking to play with Stepper, that’s a Game Boy Advanced game so you’ll need the GBA Everdrive.
Board Dimensions
1.875 x 1.55 in.
Link cable schematics
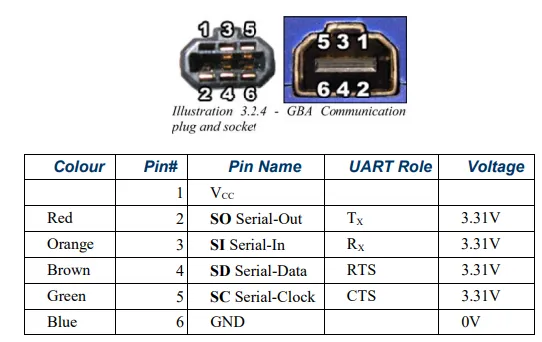
Really you only need 3 wires: Gound, Clock, and Data Input. https://forum.arduino.cc/t/arduino-gameboy-midi-communication/7151/4
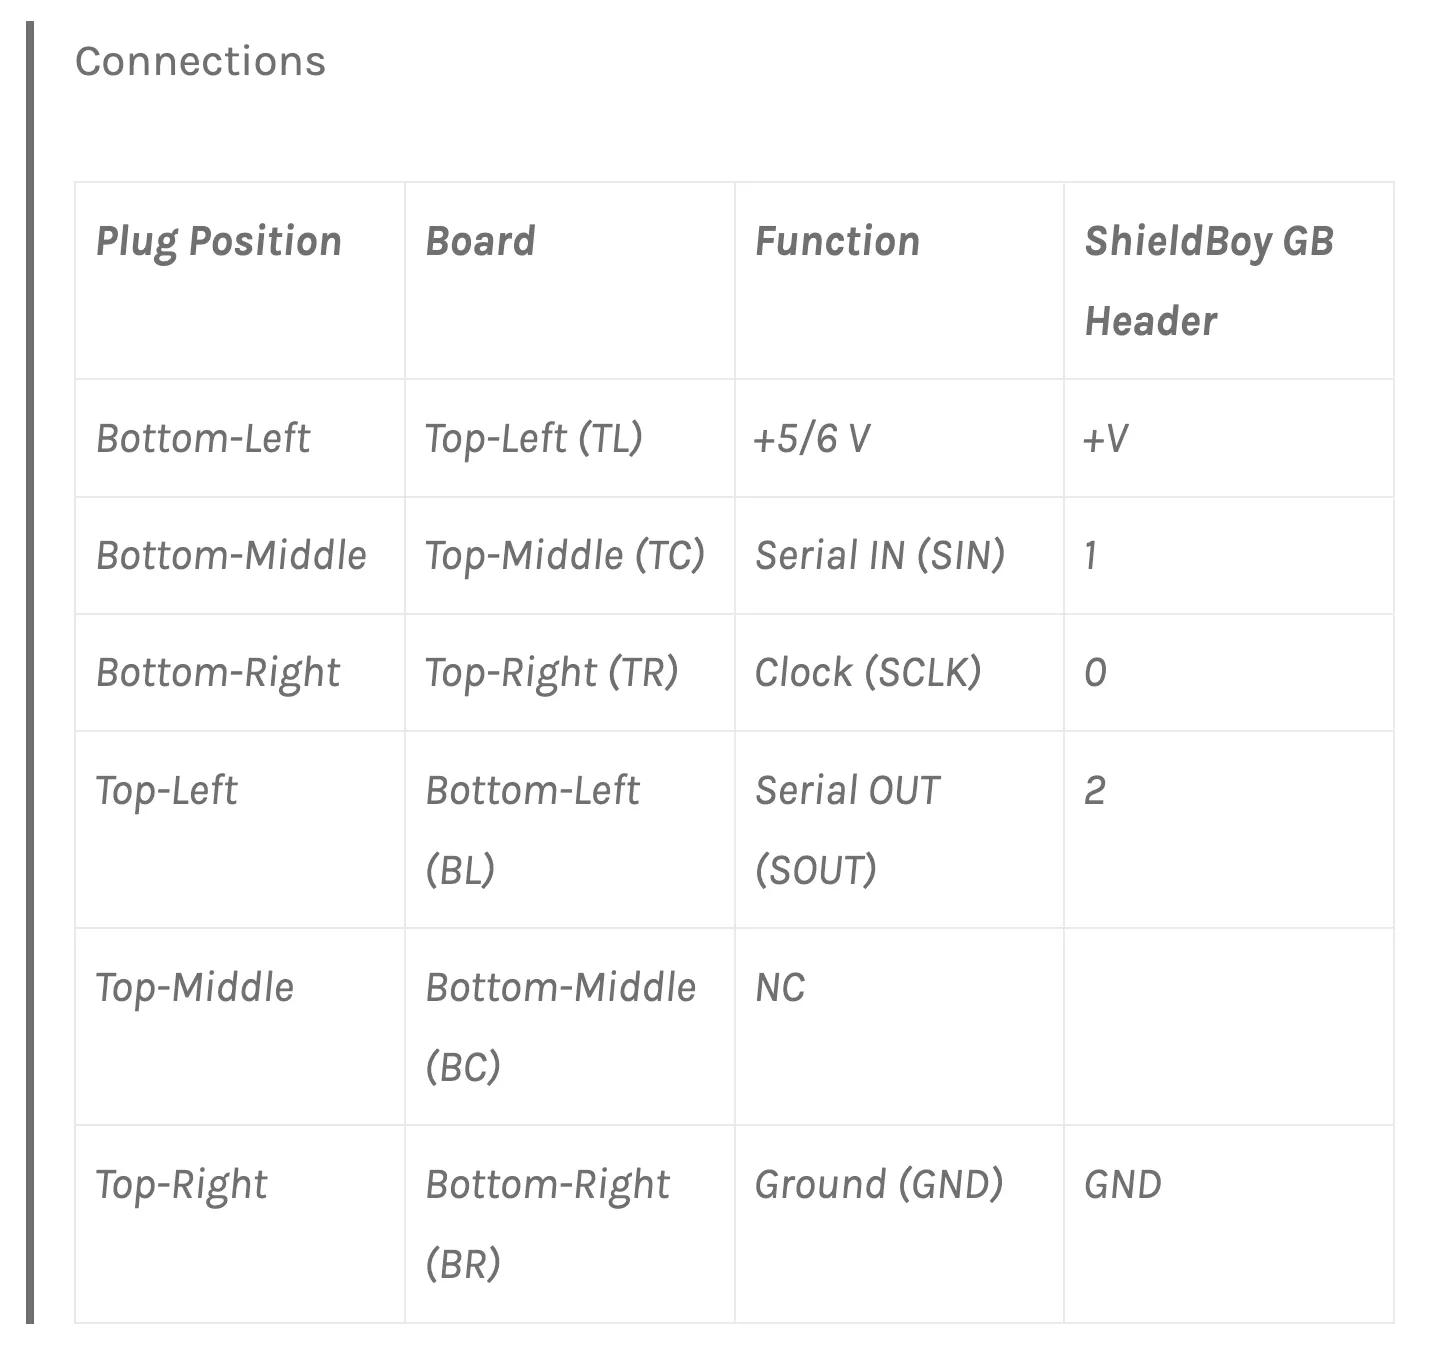
Looks like clock is missing by design on GBA link cables.
Timeline
- 2024-02-12 Milled
- 2024-02-15 Soldered
- 2024-02-21 Functioning
- 2024-02-26 In an Enclosure
Resources
- https://github.com/aleh/LSDJmi
- https://chipmusic.org/forums/topic/13608/dmg-main-board-schematic-circuit-arduinoboy/
- https://chipmusic.org/forums/post/202844/#p202844
- https://gr33nonline.wordpress.com/2019/06/11/arduinoboy-build/
- https://gr33nonline.wordpress.com/2023/05/29/more-arduinoboy-and-genius-fix-schematics-and-pcb-masks-again/
- https://gr33nonline.wordpress.com/2019/04/06/making-your-own-arduinoboy/
- https://github.com/greenonline/ArduinoBoy_GeniusFix
- https://gr33nonline.wordpress.com/2019/03/23/arduinoboys-and-others/
- https://gr33nonline.wordpress.com/2019/03/26/scaling-pdf-for-pcb/
- https://imgur.com/tjAVc6L
- https://gr33nonline.wordpress.com/2023/05/30/making-a-gerber-from-a-pdf/
- http://www.mksmks.de/technical/gbmtocube.htm
- https://user-images.githubusercontent.com/1631752/124884342-8ee7fc80-dfa8-11eb-9bd2-4741a4b9acc6.png
- https://www.instructables.com/Build-an-ArduinoBoy/
- https://imgur.com/MybMnTU
- https://github.com/trash80/Arduinoboy
- https://github.com/trash80/Arduinoboy/blob/master/Schematic/arduinoboy_schematic_1_1_0.png
- https://www.instructables.com/Build-an-ArduinoBoy/
- https://github.com/greenonline/ArduinoBoy_GeniusFix
- https://palmr.co.uk/posts/26-gameboy-link-cable-breakout/
Webmentions
1 likes & reposts, 0 mentions, 2 replies
Looks like you skipped this.
Oh shoot that’s right, i thought I had to do something more complicated.
Published by Ryan Parsley